22/10/2025
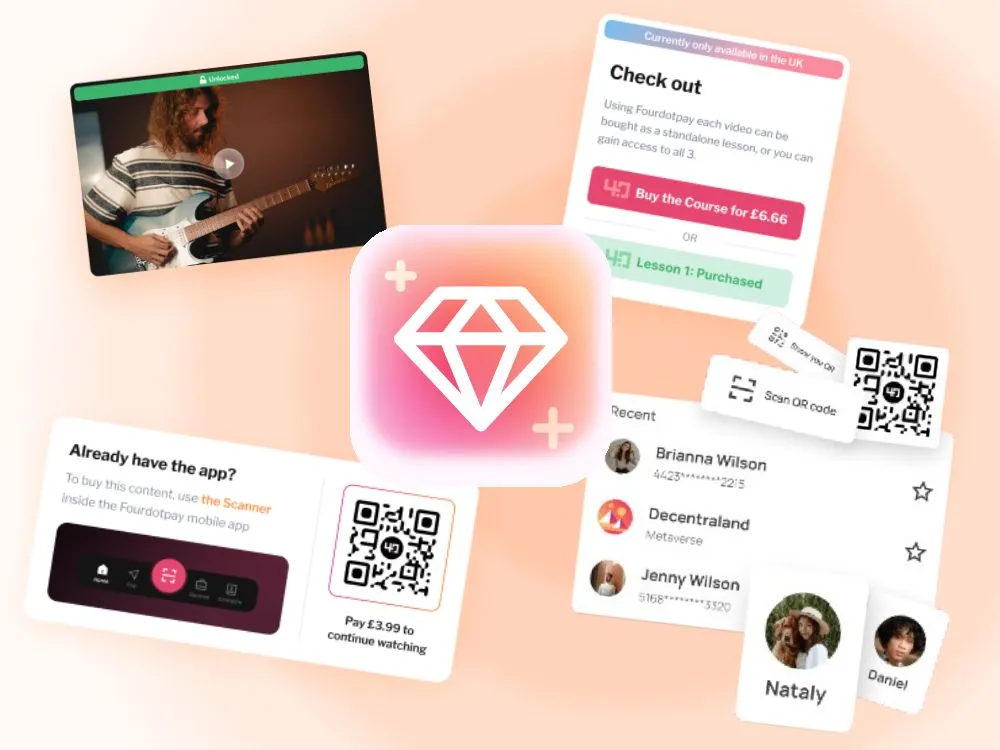
Embed wallet-to-wallet payment feature for your clients
Simple Integration (API/ /SDK / WP plugin)
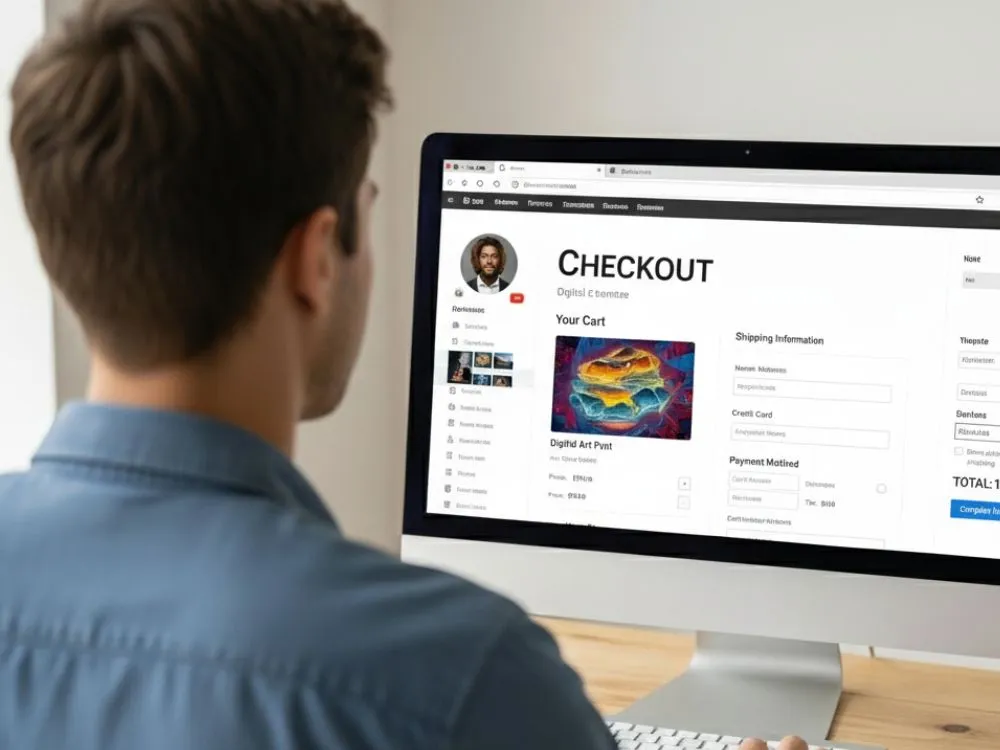
No heavy checkout flow to implement
Copy and paste code to get set up
Scalable infrastructure
Transparent pricing
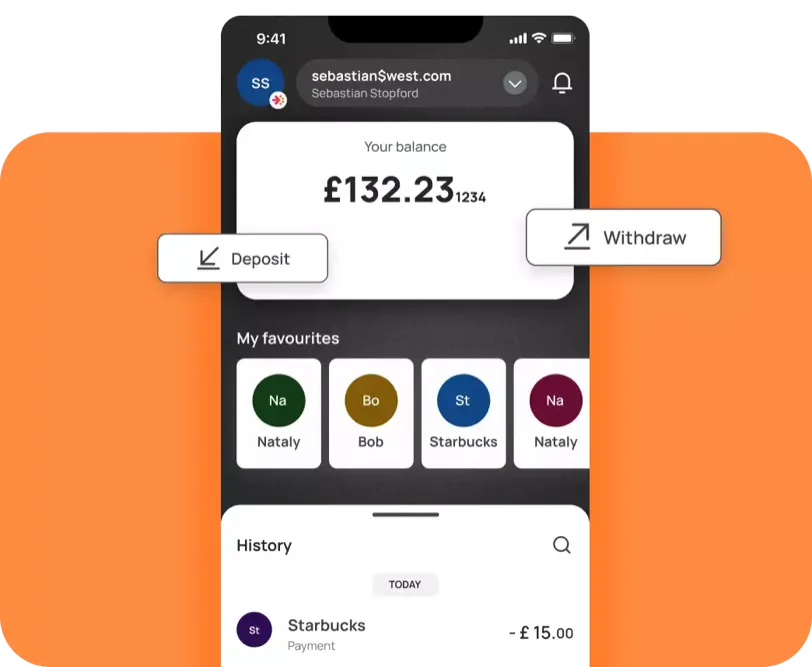

Create or connect a Fourdotpay wallet for your client.
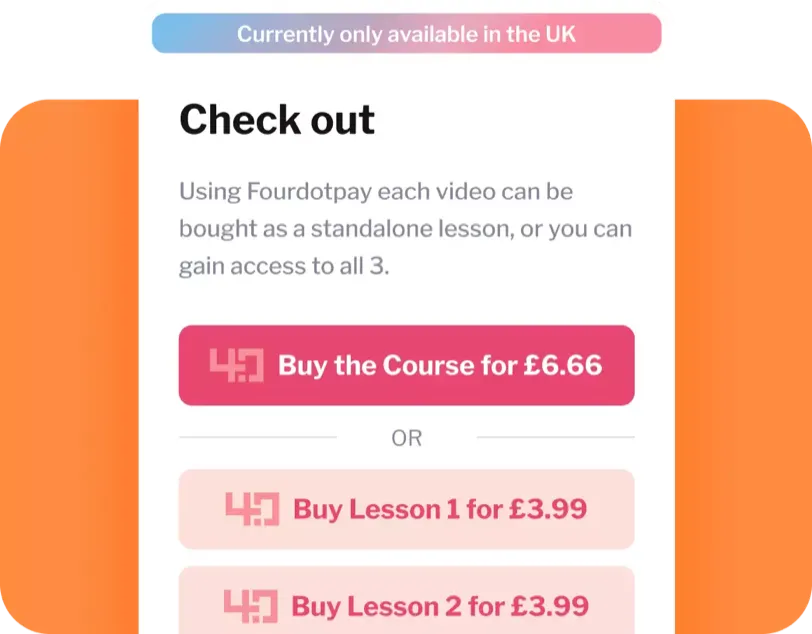

Add a payment button or embed snippet into the site.
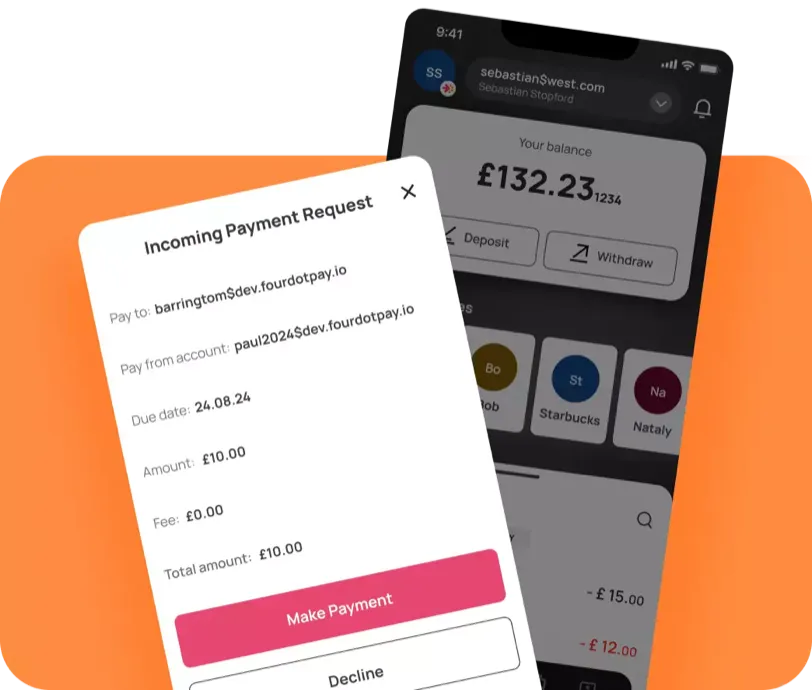

Fans can pay directly from the wallet to your client.
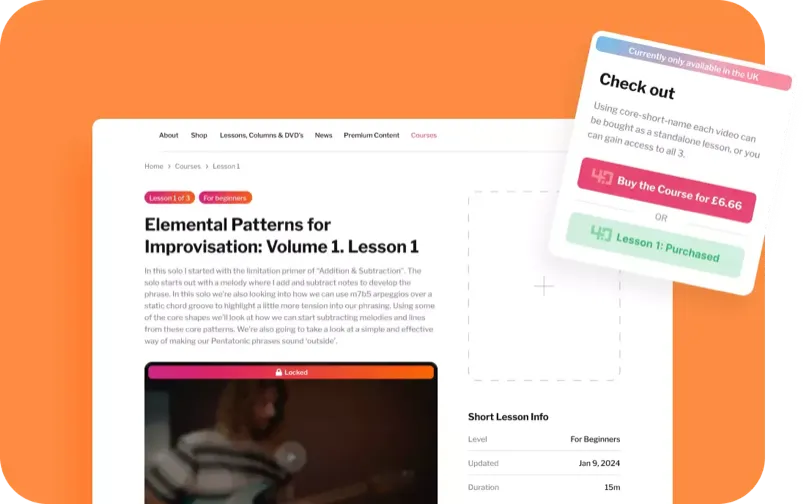

Clients get paid instantly and access content immediately.
In the head of the website page, you need to add the initial code. But, before you do, you need to configure these first that relate to the website:
SiteName: This is a description of the website.
SiteAddress: Your domain name (e.g. CactusTen.co.uk).
SiteUrl: The full URL of your website (e.g. https://www.CactusTen.co.uk).
ContentPrefix: A nickname to easily identify your website to Fourdotpay.
AccountId: This is your 4.0 Account ID (ie. the account ID you chose when you opened your Fourdotpay payment account). This tells the system where you want the money to go when a user buys your content.
AccountType: This can be either “PERSONAL” or “BUSINESS”. It specifies the account type of the Fourdotpay account into which you want funds to be sent when a buyer purchases your content.
Step 1
Copy this code into your website’s HEAD tag. Replace the example config information with your own details.
<script
  defer
  src="https://sdk.fourdotpay.io/fdz-sdk-js/dist/fdz-sdk.js?ver=1.0.2">
</script>

<script>
  window.addEventListener('load', function() {
    window.fdzSDK.initConfig({
      siteName: "Your Website Name",
      siteAddress: "yoursite.com",
      siteUrl: "https://www.yoursite.com",
      contentPrefix: "your-site",
      accountId: "yourname$fourdotpay.io",
      accountType: "BUSINESS",
    });
  });
</script>
What you need to change
| SiteName | Your website name |
| siteAddress | Your domain name |
| siteURL | The full URL of your website |
| ContentPrefix | A nickname to easily identify your website to Fourdotpay |
| accountID | This is your Fourdotzero account ID (the account ID chosen when you opened the Fourdotpay payment account. |
| accountType | This can either by personal or business. It specifies the account type of the Fourdotpay account in to which funds will be sent. |
Step 2
Directly where you would like the button to render on your web page.
<div data-fdz-sdk-widget="checkout"
     data-title="Checkout"
     data-description="What you're selling">

  <div data-fdz-sdk-widget="buy_button"
       data-content-ids="[YOUR-UUID-HERE]"
       data-content-price="2.99"
       data-content-title="Name of Your Product">
  </div>

</div>
What you need to change
| data-description | Describe what you're selling |
| data-content-ids | A unique code for this product (see below on how to get one) |
| data-content-price | How much it costs |
| data-content-title | The name of your product |
Step 3
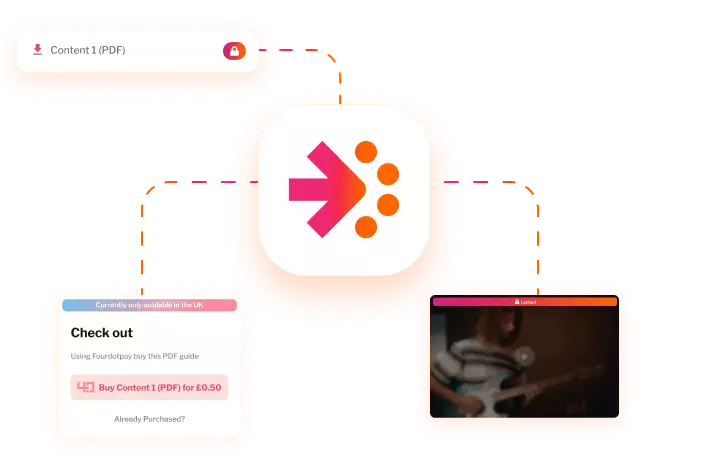
This is where you put the content that buyers will unlock after paying.
<div data-fdz-sdk-widget="content"
     data-content-id="[SAME-UUID-AS-ABOVE]"
     data-content-title="Your Video Name"
     data-content-type="video"
     data-content-url="https://yoursite.com/video.mp4"
     data-content-image="https://yoursite.com/preview-image.png">
</div>
What you need to change
| data-content-id | Use the same unique code from Step 2 |
| data-content-type | For example, “video” |
| data-content-url | Where your video or downloadable file is hosted |
| data-content-image | A preview image (optional – video only) |
<div data-fdz-sdk-widget="content"
     data-content-id="[SAME-UUID-AS-ABOVE]"
     data-content-title="Your File Name"
     data-content-type="download"
     data-content-url="https://yoursite.com/filename.pdf">
</div>
What you need to change
| data-content-id | Use the same unique code from Step 2 |
| data-content-type | For example, “download” |
| data-content-url | Where your video or downloadable file is hosted |
Each product needs its own unique code (called a UUID).
Visit https://www.uuidgenerator.net/version4 and click “Generate” to get a new code.
Use the exact same UUID in both Step 2 (buy button) and Step 3 (content widget) for the same product. Don’t reuse UUIDs or try to make up your own.
That’s it! When someone clicks the buy button and pays, they’ll be able to access your content.
What this does
This is for a simple use case, for more complex use cases, check out our guide here.
Need Help?